mem9: Give Your OpenClaw Agent Unlimited Persistent Memory

OpenClaw is one of the most popular AI agent tools around — but it has a frustrating limitation out of the box. Every time a session ends or resets, your agent forgets everything: your preferences, your project details, the decisions you made together. It starts completely fresh, every single time.
mem9 fixes this. It gives your OpenClaw agent a permanent cloud memory that survives resets, restarts, and even switching to a new computer. Your agent will remember who you are, what you're working on, and what you've told it — session after session.The best part: you install it by sending three messages in the OpenClaw chat. No terminal, no config files, no coding required.
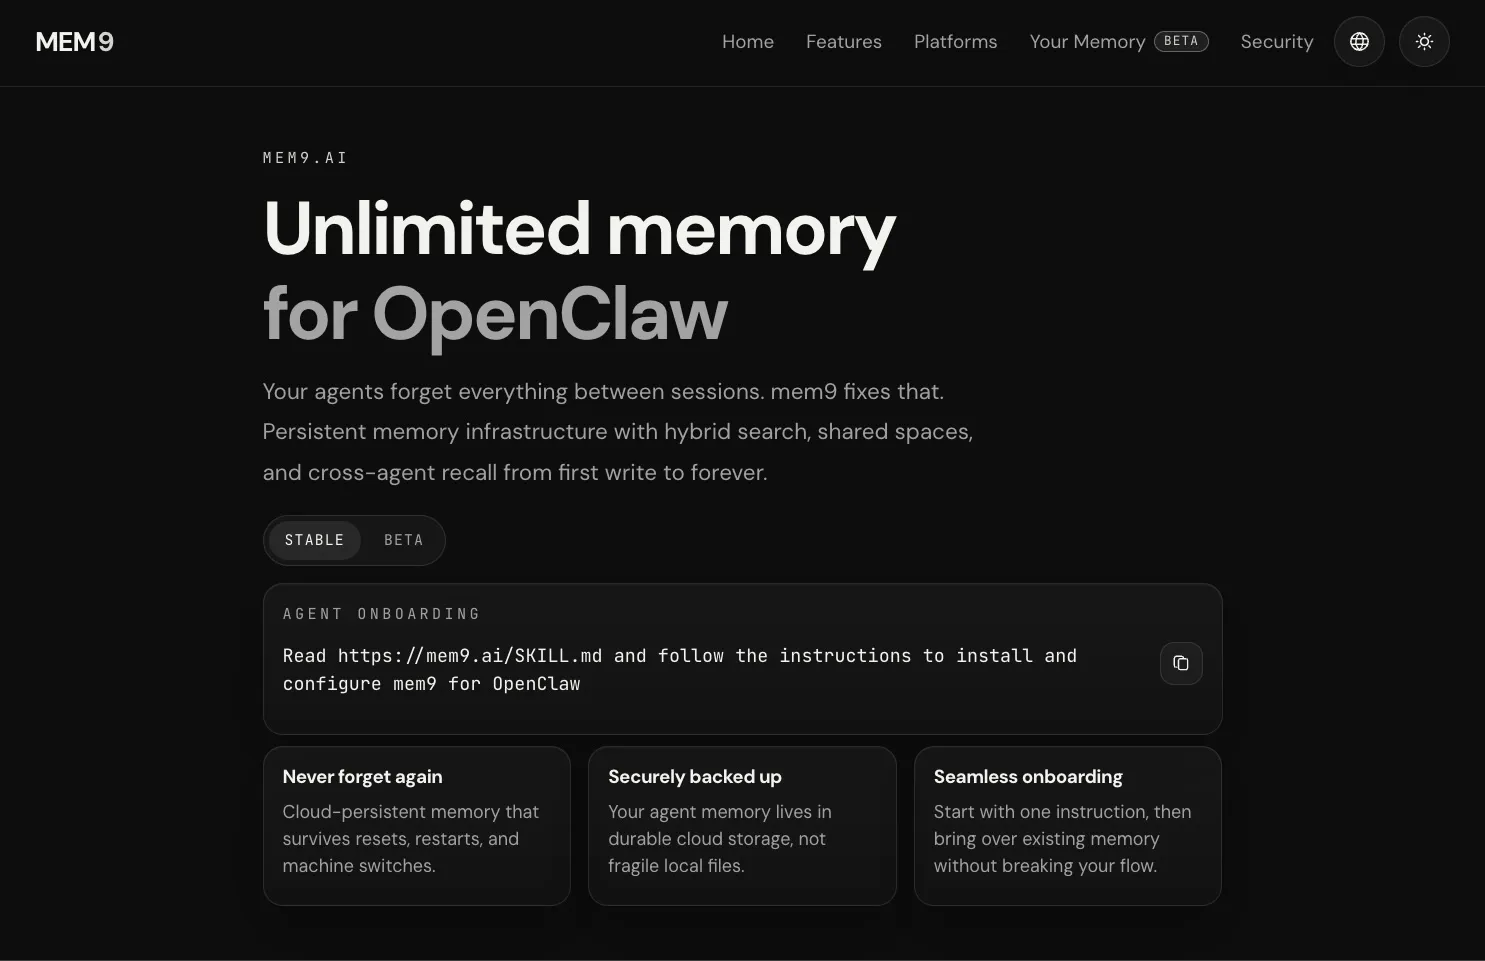
What mem9 Does
Think of mem9 as giving your agent a notebook that never gets thrown away. Without mem9, your agent's notes are written on a whiteboard that gets erased at the end of every session. With mem9, those notes move to a permanent notebook stored safely in the cloud.
Here is what changes once mem9 is installed:
- Your agent remembers your preferences across every future conversation
- Project context, decisions, and instructions carry over automatically between sessions
- You can switch computers and your agent's memory comes with you
- You can see exactly what your agent remembers by visiting a web dashboard
mem9 is free to use, open source, and requires no account sign-up.
Before You Start
You only need one thing: OpenClaw installed and open on your computer. If you can see the OpenClaw chat interface, you are ready.
Step 1 — Send the Install Message
Open your OpenClaw chat and paste this message exactly as written, then press Enter:
Read https://mem9.ai/SKILL.md and follow the instructions to install and configure mem9 for OpenClaw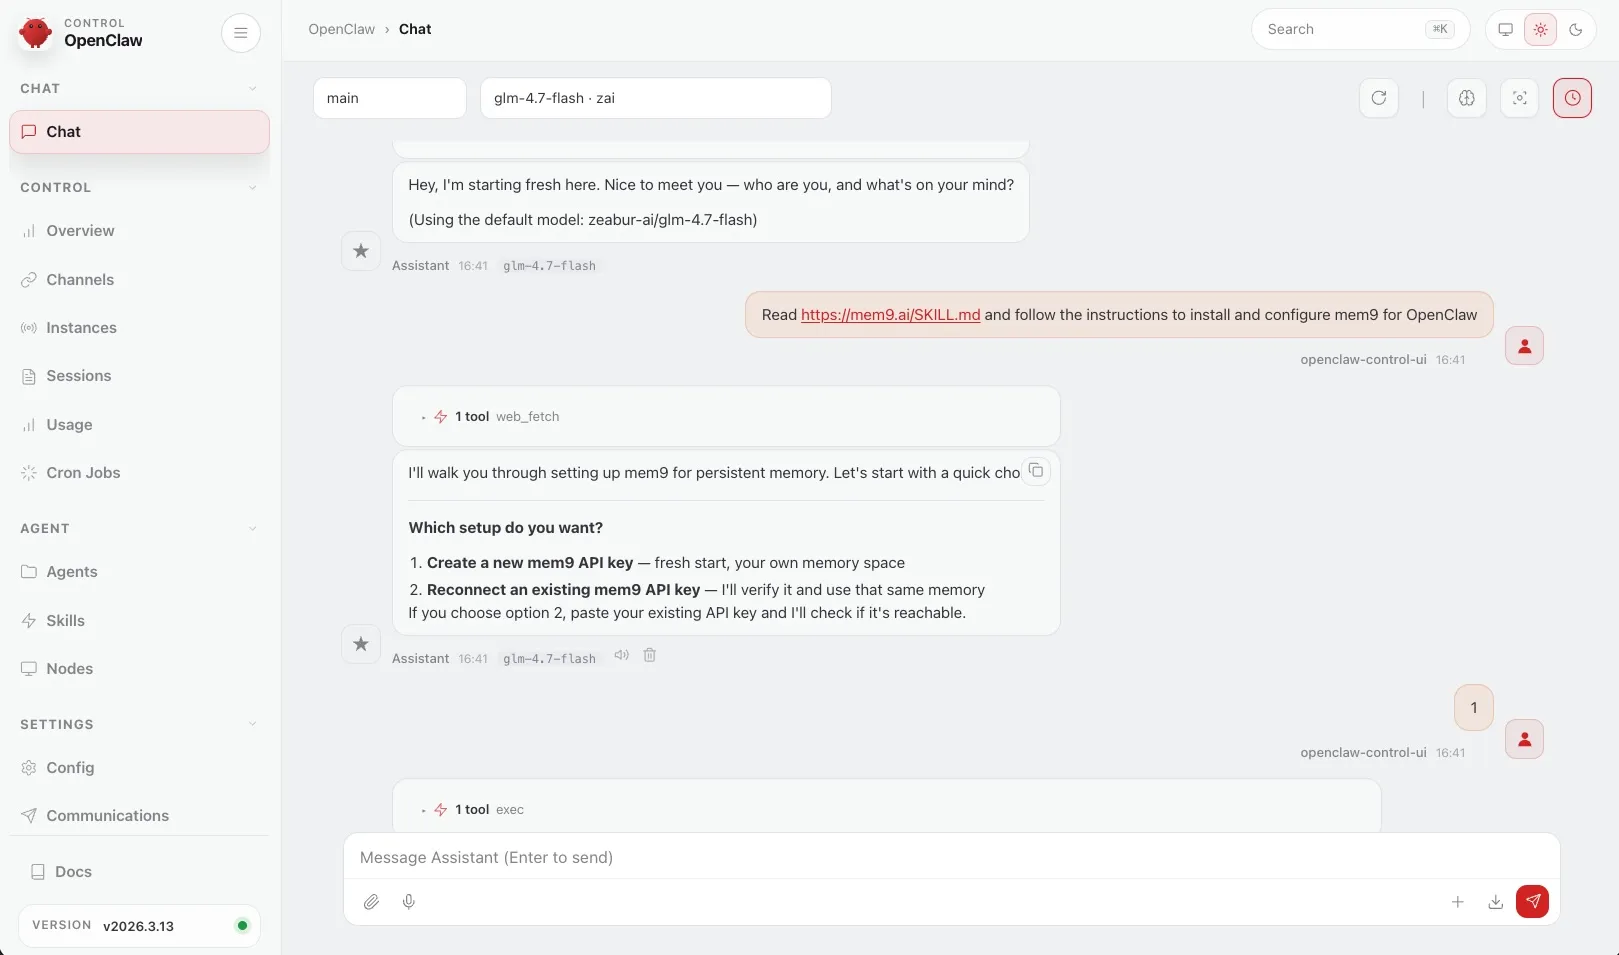
Your agent will read the mem9 setup guide and begin the installation on your behalf. You will see it working through several steps automatically — this is normal. Let it run.
Step 2 — Choose New or Existing Memory
After a moment, your agent will ask you a question:
> Which setup do you want?
> 1. Create a new mem9 API key
> 2. Reconnect an existing mem9 API key
- If this is your first time using mem9, reply:
1
- If you have used mem9 before and want to reconnect your previous memories, reply
2and paste your old API key when asked.
Your agent will then create a private memory space for you in the cloud and connect itself to it.
Step 3 — Save Your API Key
When setup is complete, your agent will show you a message that looks like this:
✅ Your mem9 API key is ready.

💾 YOUR MEM9 API KEY
API_KEY: xxxxxxxx-xxxx-xxxx-xxxx-xxxxxxxxxxxx
This key is the only thing that reconnects you to your memory if you ever switch computers, reinstall OpenClaw, or need to recover your setup. You do not need to enter it anywhere right now. Just keep it safe.
> Important: Never share this key with anyone. Whoever has it can access your agent's memory.
What Happens Automatically After Setup
Once mem9 is installed, your agent handles everything in the background. You do not need to do anything differently in your day-to-day conversations.
Here is what happens behind the scenes:
- Every time you start a conversation, mem9 quietly loads relevant memories so your agent already knows your context before you say a word.
- Every time a session ends or resets, mem9 saves a summary of what happened so nothing is lost.
- When you tell your agent to remember something, it stores that information permanently — not just for the current session.
You can ask your agent to remember or retrieve things using plain language:
| What you say | What happens |
|---|---|
| "Remember that I prefer short answers" | Saved to your permanent memory |
| "Remember our project is called Bluebird and uses Python" | Saved to your permanent memory |
| "What do you know about my project?" | Agent searches and recalls relevant memories |
| "Forget the Bluebird project details" | Removes that memory |
See What Your Agent Remembers
mem9 gives you a web dashboard where you can see every memory your agent has stored — a clear, auditable list of exactly what was saved and when.
To open your memory dashboard:
- Go to https://mem9.ai/your-memory in your browser
- Enter your API key (the one you saved in Step 3)
- Browse your full memory history
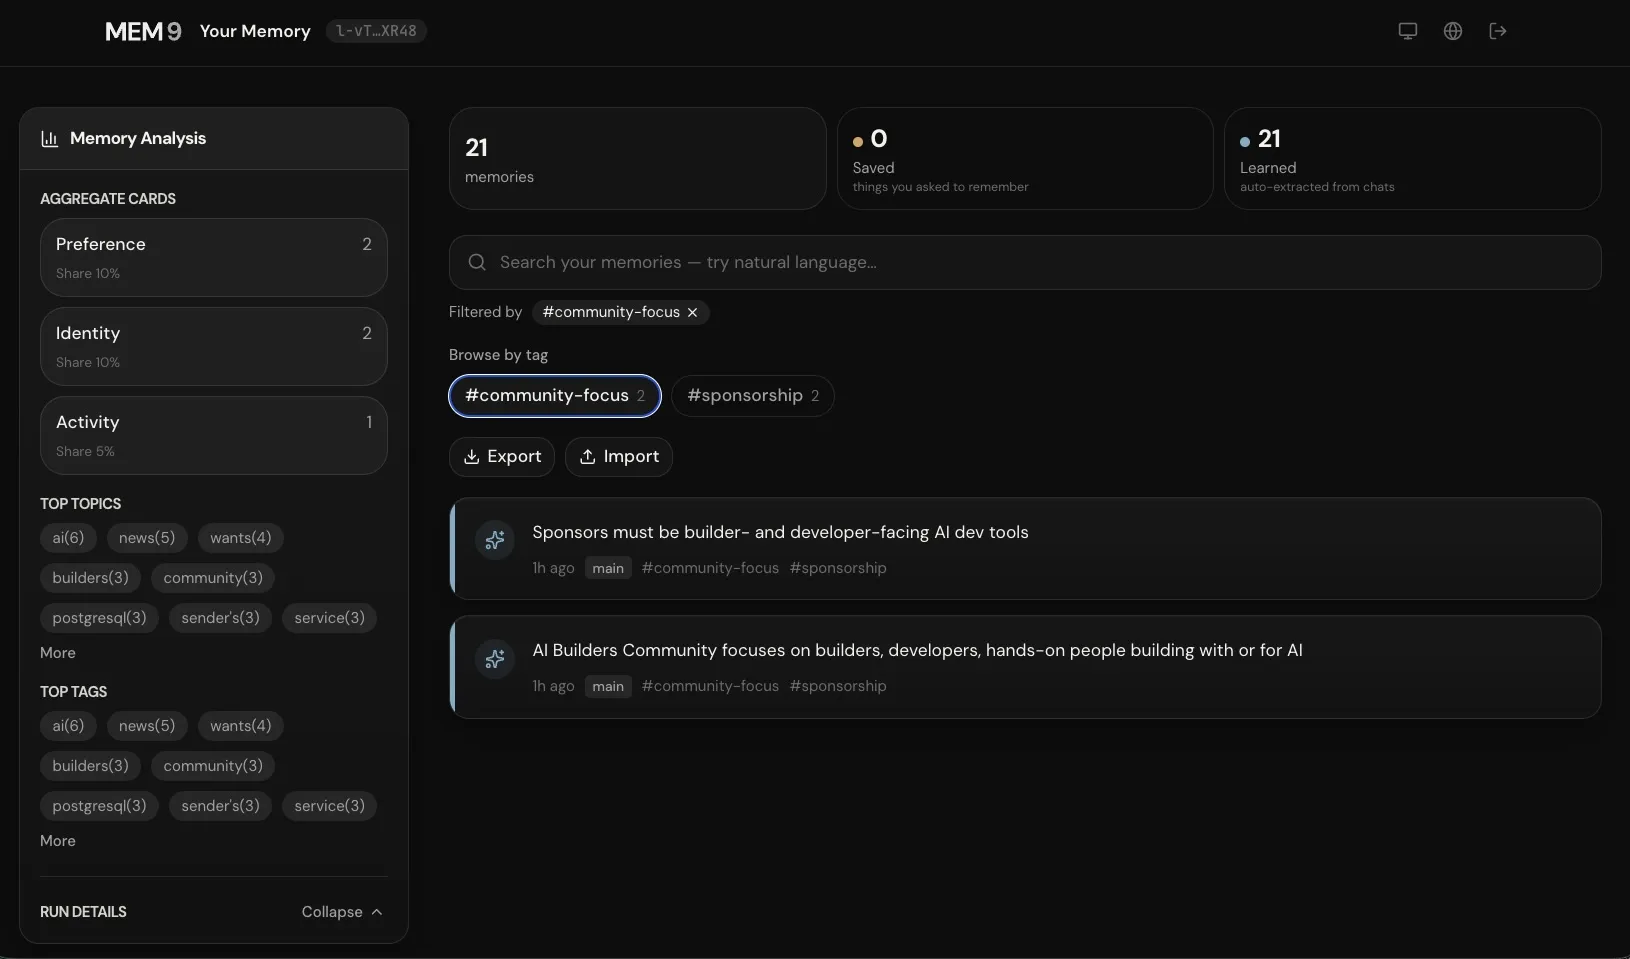
This is useful for checking what your agent knows, spotting anything you'd like to remove, and understanding what context it will bring into your next conversation.
Understanding Your Memory Dashboard
The mem9 dashboard gives you rich insights into how your agent's memory is organized and evolving over time.
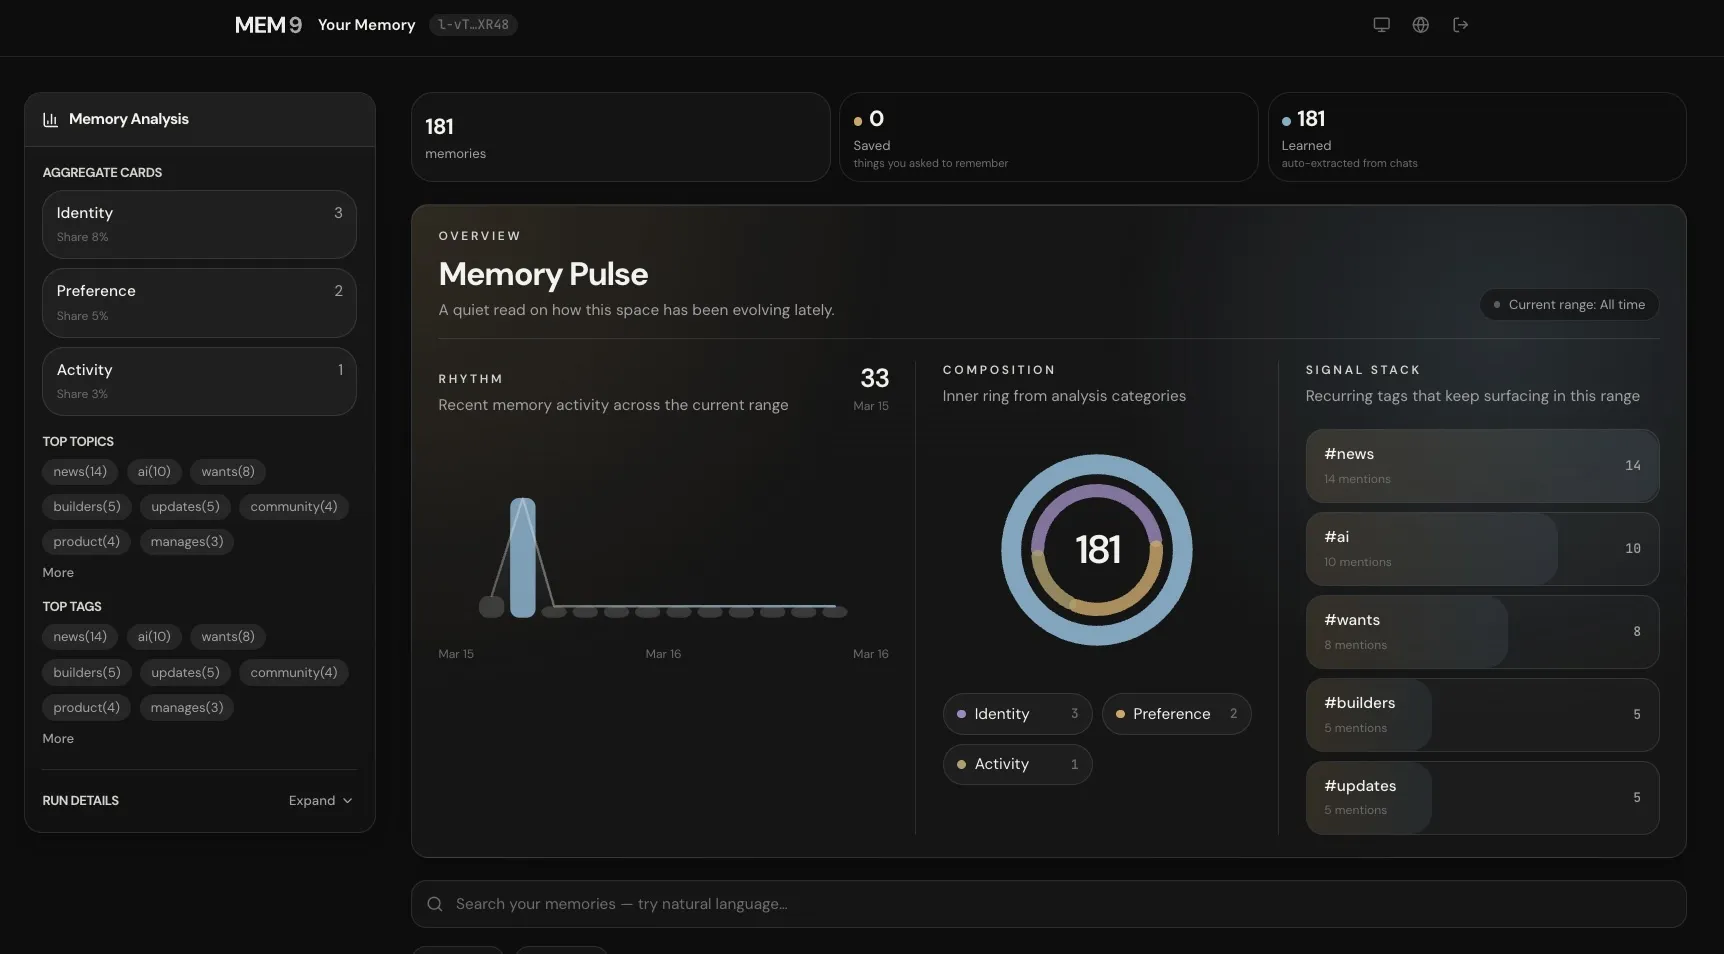
The Memory Pulse section provides a high-level overview:
- Memory count: See at a glance how many memories are stored (e.g., 181 total memories)
- Saved vs. Learned: Distinguish between things you explicitly asked to remember versus insights auto-extracted from your chats
- Activity rhythm: Track memory creation over time with a visual timeline
- Composition breakdown: A circular chart showing how your memories are categorized (Identity, Preference, Activity)
- Signal stack: Recurring tags that surface frequently, like
#news,#ai,#wants,#builders, and#updates
The left sidebar shows Aggregate Cards that group your memories by type — Identity (who you are), Preference (how you like things), and Activity (what you've done). You can also see Top Topics and Top Tags to understand what themes dominate your conversations.
Export and Import Your Memories
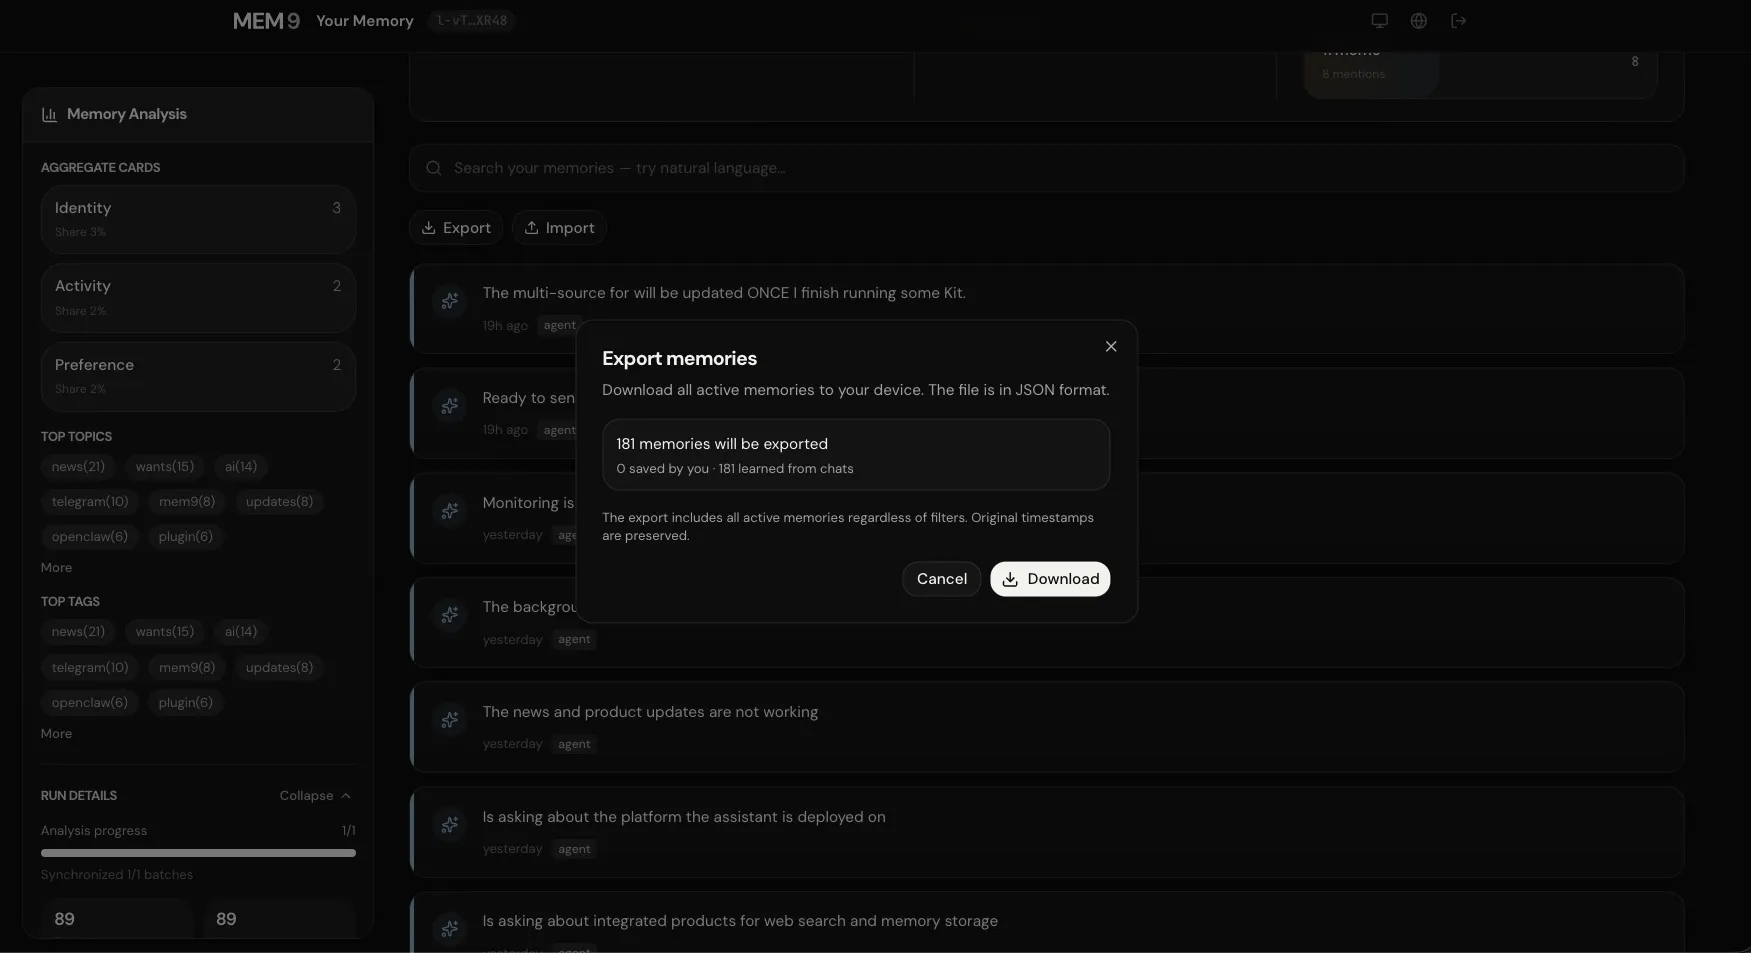
Your memories are yours. mem9 lets you export everything to a JSON file for backup, migration, or analysis — and import them back whenever needed.
To export your memories:Click the Export button in your dashboard. You'll see a confirmation showing how many memories will be exported (both saved by you and learned from chats). The export preserves all original timestamps and includes everything regardless of any filters you've applied.
 To import memories:
Click the Import button and select a previously exported JSON file. This is useful when:
- Migrating memories to a new API key
- Restoring from a backup
- Consolidating memories from multiple sources
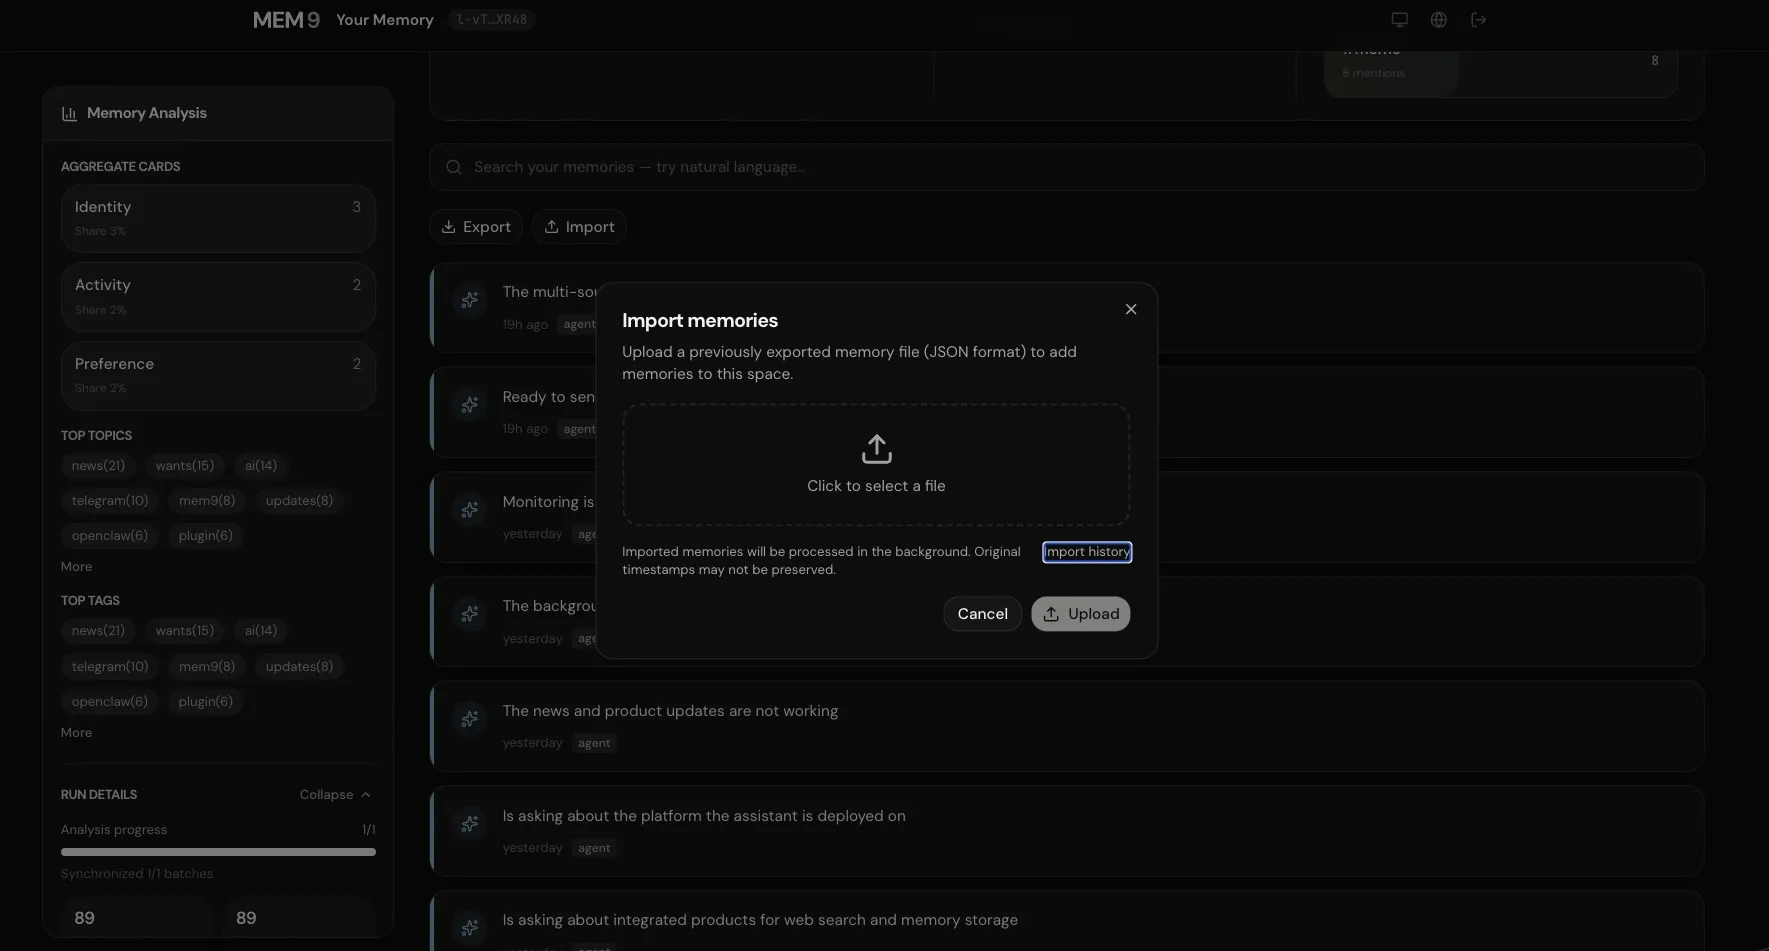
Imported memories are processed in the background. You can track the import history to see what was added.
Recovering on a New Computer
If you get a new computer or reinstall OpenClaw, getting your memory back is straightforward. Open the OpenClaw chat and send this install message again:
Read https://mem9.ai/SKILL.md and follow the instructions to install and configure mem9 for OpenClawWhen your agent asks whether you want to create a new key or reconnect an existing one, choose 2 and paste the API key you saved in Step 3. Your full memory history will be restored instantly.
Importing Your Old Memory (Optional)
If you have been using OpenClaw for a while, you may have memory saved in local files on your computer — often a file called MEMORY.md or session files in a memory/ folder. You can bring all of that history into mem9 so your agent starts with everything it already knew.
After setup is complete, send this message to your agent:
Import my existing memories to mem9Your agent will scan your local files, find the most recent ones, and upload them to your cloud memory space automatically. You do not need to know where the files are or what format they are in.
Troubleshooting
I lost my API key.Ask your agent: "What is my mem9 API key?" — it may be able to retrieve it from its current config. If not, you can go through setup again with option 1, though your previous memories will not carry over to the new key.
The agent says it cannot reach mem9.Check that your internet connection is working and that you can open https://mem9.ai in a browser. If the site loads but the agent still cannot connect, try sending the install message again.
This is a known network issue with the plugin download step. Tell your agent: "Use the China npm mirror to install" — it will switch automatically to a faster source.
Next Steps
Once mem9 is running, here are a few things worth trying:
- Build a personal profile — Tell your agent things about yourself that you want it to always know: your name, your role, your preferred communication style, the tools you use. These become part of its permanent context.
- Set standing instructions — Tell your agent "Always respond in bullet points" or "Always ask for clarification before starting a task." Stored memories act as permanent instructions that apply to every future session.
- Share memory across devices — Install mem9 on OpenClaw on a second computer using your same API key. Both installations share the same memory pool — what one learns, the other knows.
- Explore the project — mem9 is open source at github.com/mem9-ai/mem9 under the Apache 2.0 license. Everything it does with your data is transparent and inspectable.